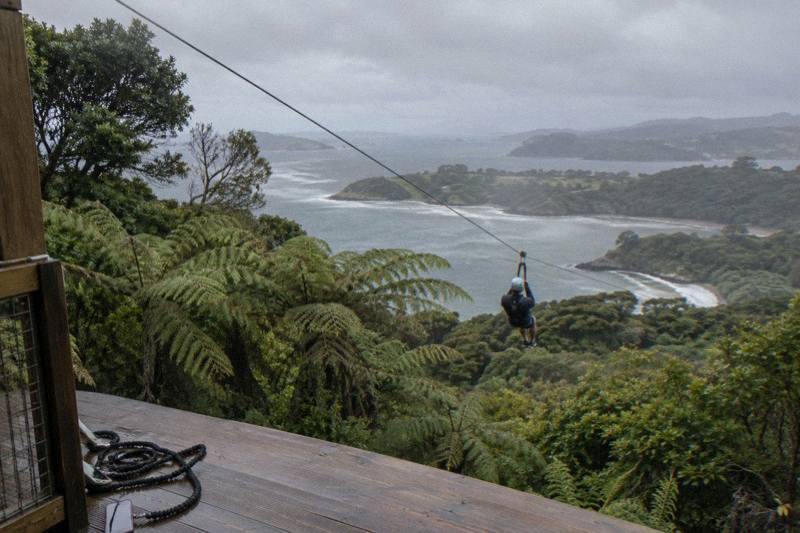
Photos On The Waiheke Zipline: Phones, Cameras And Guide Shots
The Waiheke zipline is one of the most photogenic 200 metres in Auckland, but the rules about cameras are specific: anything you fly with has to be strapped to you. Here is what to bring, how to set it up, and which shots are worth the effort.
Short answer
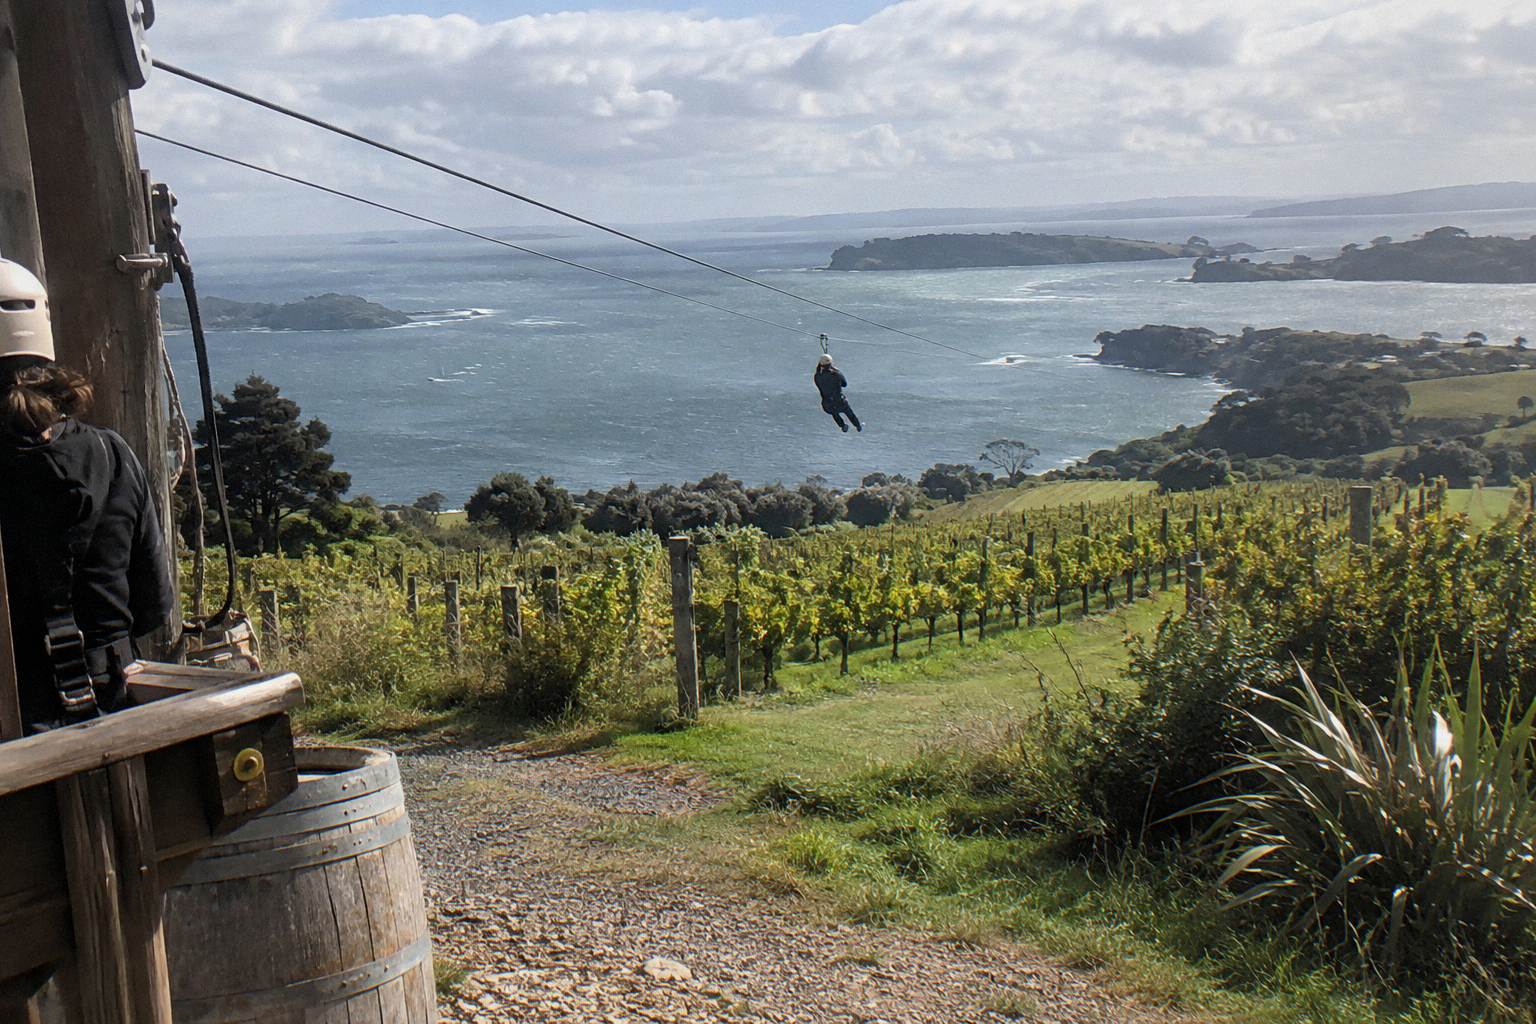
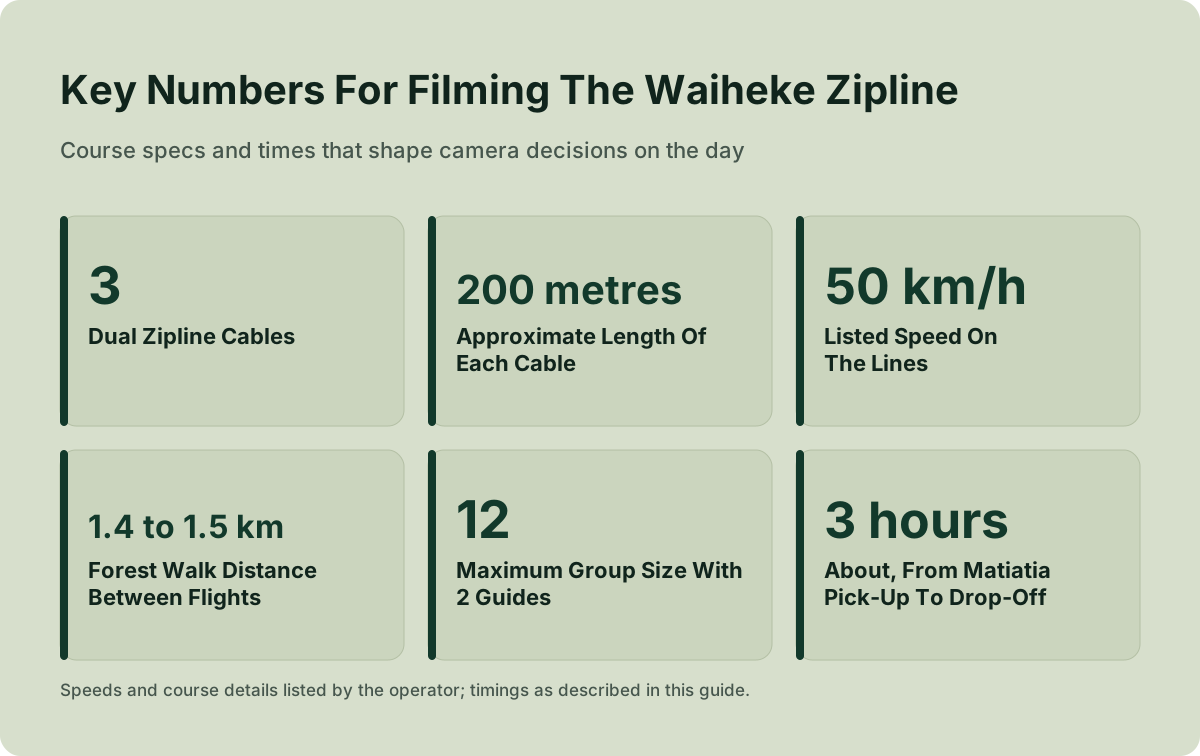
Phones and cameras are allowed on the Waiheke zipline, but they must be strapped to your clothing or the harness; EcoZip hands out free phone bungees at check-in. Group size runs to 12 people with 2 guides, lines reach over 50 km/h, and the forest walk and ferry ride add the calm shots your video needs.
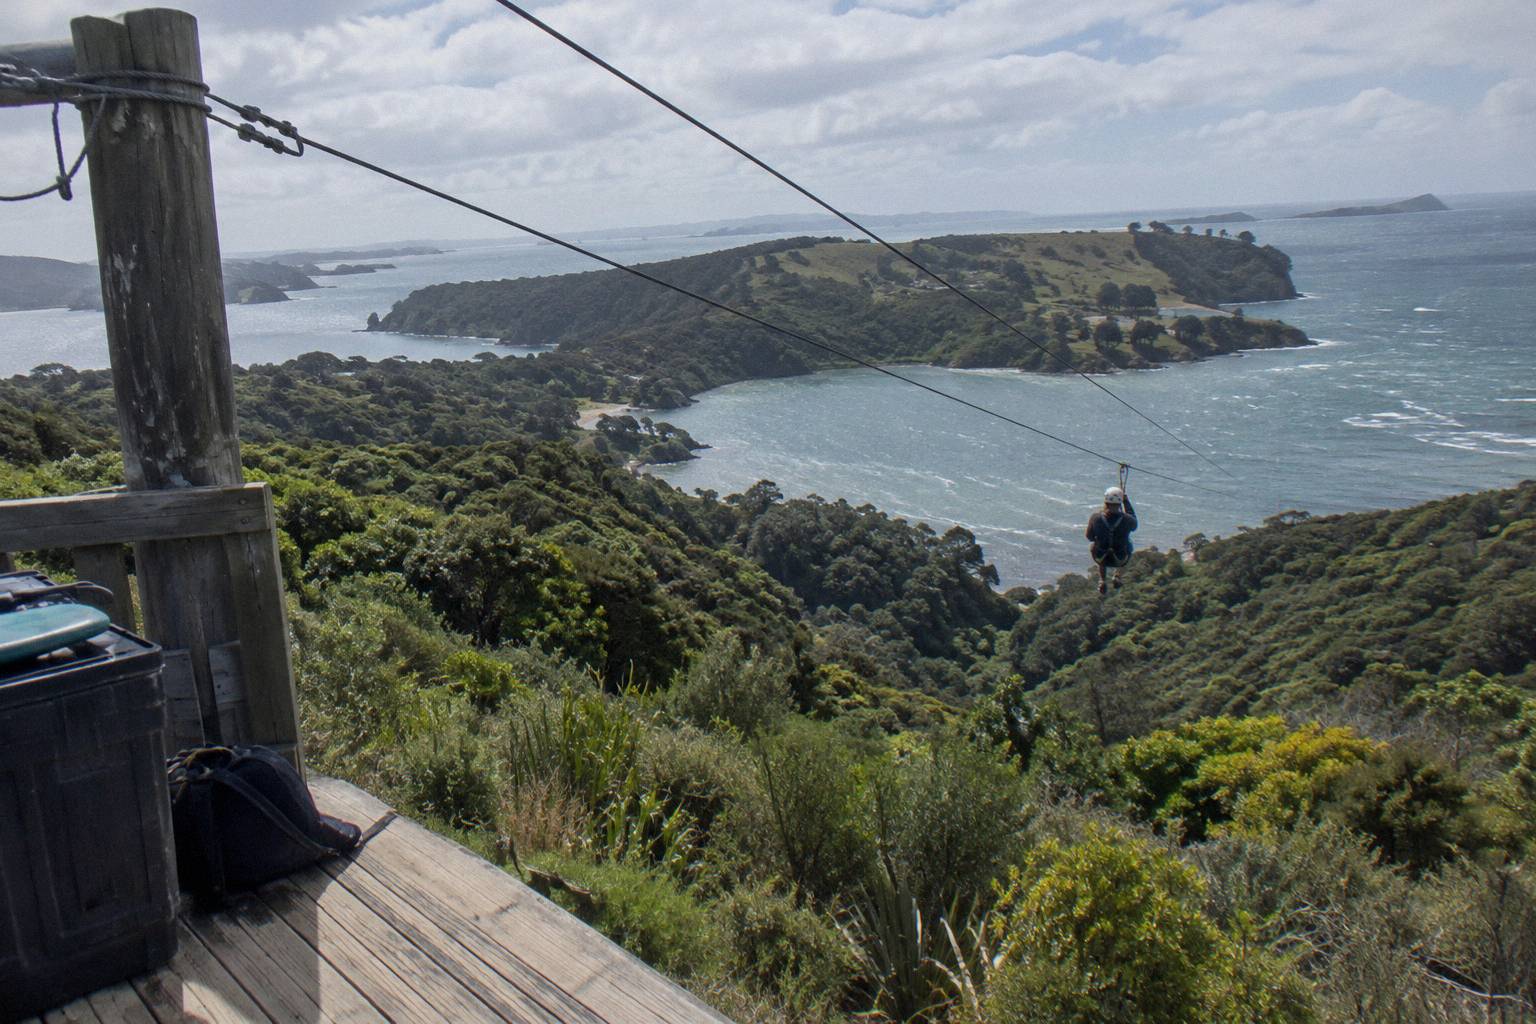
The zipline at Trig Hill sends you down three dual cables of roughly 200 metres each, at speeds the operator lists as over 50 km/h, above vineyards that run all the way down to the Hauraki Gulf. It is the kind of scenery people cross an ocean for, and almost everybody arrives with a phone in their pocket and a plan to film it. The plan usually fails for one of two reasons: the camera is not allowed to fly loose, or the settings are wrong for the speed. Both problems are easy to fix before you leave Matiatia.
This guide covers the camera rules as EcoZip states them, the gear decisions that actually matter on the day, the settings that survive a 50 km/h run, and the shot list that turns three quick flights and a 1.4 km forest walk into something worth watching twice. Where a fact comes from the operator it says so, and where something is simply not published, like whether any photo package exists, it says that too rather than guessing.
What Are The Camera Rules On The Waiheke Zipline?
Phones and cameras are permitted on the EcoZip ziplines and the forest walk, but anything you carry while flying must be strapped to your clothing or the harness, and free phone bungees are handed out at check-in to make that possible. The rule exists because a dropped object from height is a hazard to people below, so loose devices, handheld grips and unsecured cases are out for the flights themselves.
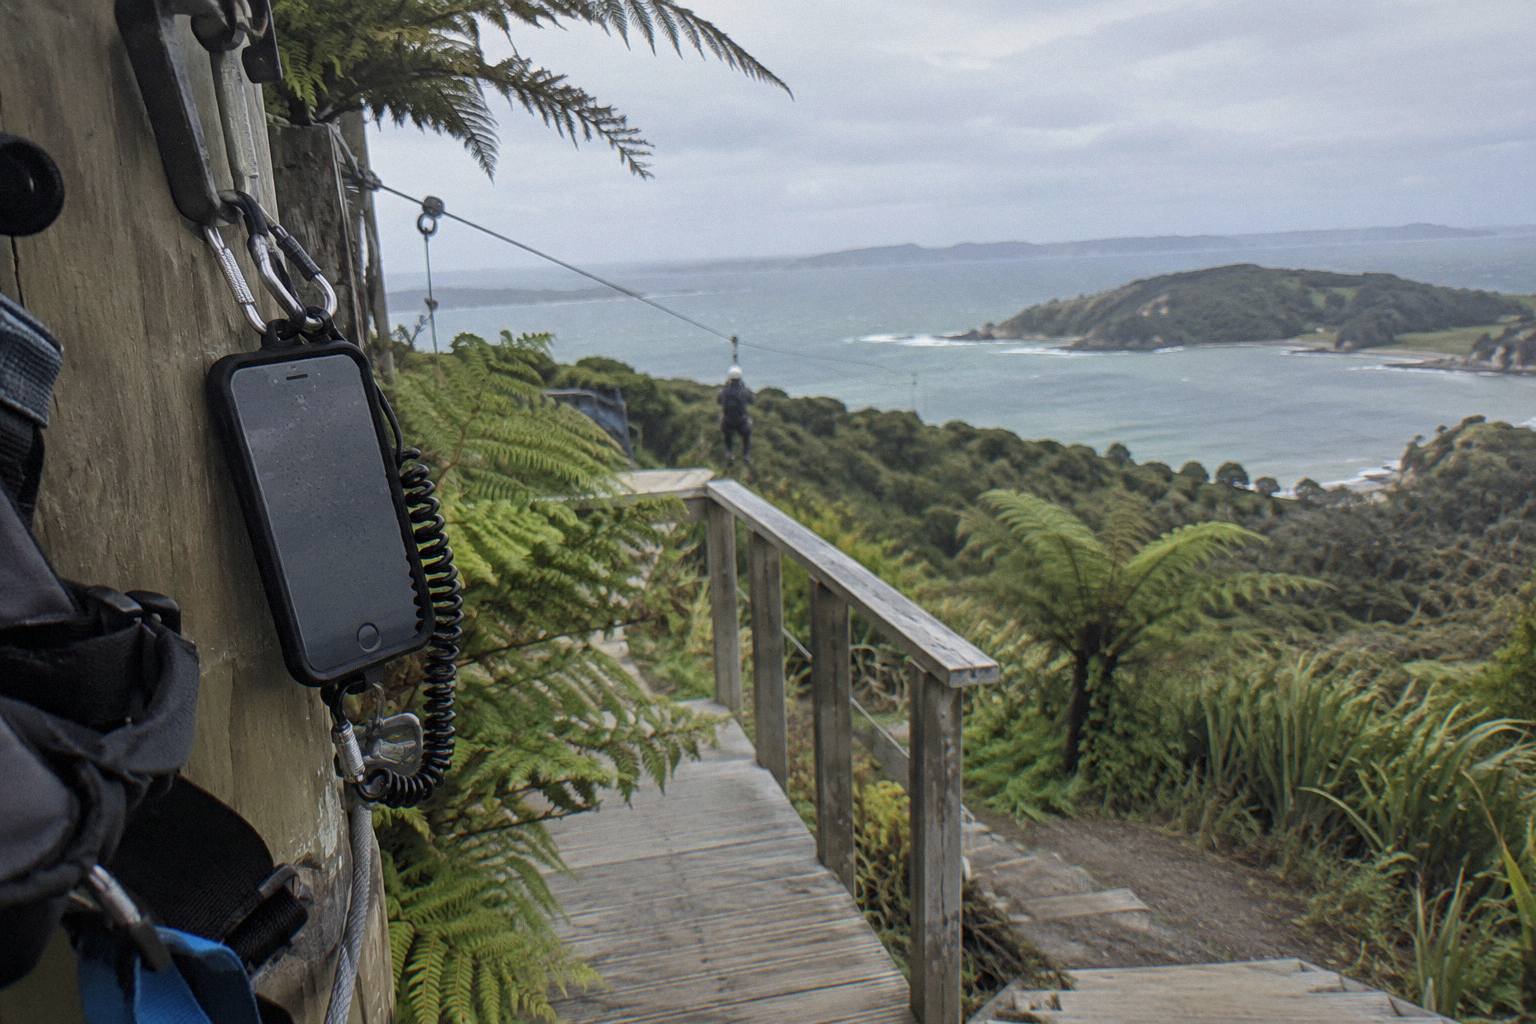
The operator's FAQ is clear on the mechanics: phones and cameras must be strapped to clothing or the harness, and there are free phone bungees at check-in. Pick one up early rather than at the platform, because you want time to practise clipping and unclipping it with one hand while wearing gloves or cold fingers. The bungee keeps the phone attached if it slips during launch, which is the moment most drops happen on any zipline course anywhere.
Between the flights, on the forest walk and around the base, the strapping rule relaxes to ordinary common sense. The walk is about 1.4 to 1.5 km of uneven, switchbacking track with a few steady uphill stretches, so a phone in a zipped pocket beats a phone in an open one. Group size runs up to 12 people with 2 guides, which means the person filming you is usually a new friend from the group, and there is enough space on the platforms for a handful of people to shoot without crowding the launch area.
What is not published: the operator says nothing about an included photo or video package, and nothing we could verify about a GoPro-specific policy. Treat any claim you see elsewhere about "free GoPro hire" or "photos included" as unverified until it appears on the operator's own pages or the live listing. The gear you bring is the gear you shoot with, so plan accordingly and pack a spare battery, because there is no shop at Trig Hill.
If you are still deciding which of the island's two zipline experiences to book, the choice affects your footage more than you might expect. The flagship option is the Waiheke Island: Zipline And Forest Walk, three dual lines plus the guided forest walk and a highlights shuttle; how the whole three-hour trip runs explains where each photo opportunity sits in the timeline.
Phone, Action Cam Or Compact: Which Works Best Up There?
A modern phone with image stabilisation is the best all-round choice for most visitors, because it shoots the ferry, the platform banter and the flight on one battery and clips straight to the harness bungee. An action cam wins only if you want first-person video of every line, and a standalone compact camera is the weakest option: hardest to secure, slowest to deploy, and no better than a phone for anything you will actually post.
The real constraint is deployment speed. You stand on a platform, a guide clips you in, checks you, and launches you, and the whole sequence takes under a minute. Whatever you film with has to be ready before the harness goes on. Phones win here because the bungee is designed for them and the camera app opens from a pocket tap. Action cams need a chest or wrist mount, done during check-in, and then you simply forget about them until the end.
| Gear | Secured how | Best for | Weakest at |
|---|---|---|---|
| Phone with stabilisation | Free bungee from check-in, clipped to harness or clothing | Everything: ferry, platforms, forest walk, one flight | Reach, zoom, battery in cold |
| Action cam, chest-mounted | Mount strap under the harness | First-person video of all three lines | Stills, forest walk detail, framing control |
| Action cam, on a selfie stick | Not permitted during flights | Nothing on this course | Everything; hand it to a non-flying companion |
| Compact camera | Wrist strap only, must be clipped away for flights | Forest walk close-ups of ferns and kauri | Speed, video stabilisation, one-handed use |
| Drone | Separate aviation rules apply | Nothing here without permissions | Confined airspace, people below, permissions |
The drone row is the one people ask about. A zipline course is a worksite with cables, guides and up to a dozen guests moving underneath, and New Zealand drone rules around people and commercial sites are strict, so leave it at the accommodation. If aerial-style footage of the island matters to you, the ferry deck at the bow as Waiheke's coastline opens up gives you 40 minutes of it with zero paperwork.
One more honest note on "guide shots": nothing published by the operator promises guides will film or photograph guests, so do not build the day around it. Ask politely on the day and you may get lucky, but the reliable plan is your own gear plus one cooperative person in your group of twelve.
The forest walk portion rewards a different eye from the flights, and if you are pairing a slow morning of filming with the ride itself, what to wear ziplining on Waiheke matters for camera comfort too: gloves off for touchscreens, a hat that fits under a helmet, and a warm layer because cold hands fumble mounts.
Which Settings Survive A 50 Km/H Zipline Run?
Lock your shutter fast and your frame rate high: the fastest shutter speed your phone offers, 4K at 60fps if the phone allows, exposure locked before launch, and the widest stable lens you have. The mistake almost everyone makes is letting the camera auto-expose mid-flight, so the bright sky at launch makes the vineyard below go dark for the first two seconds of the run.
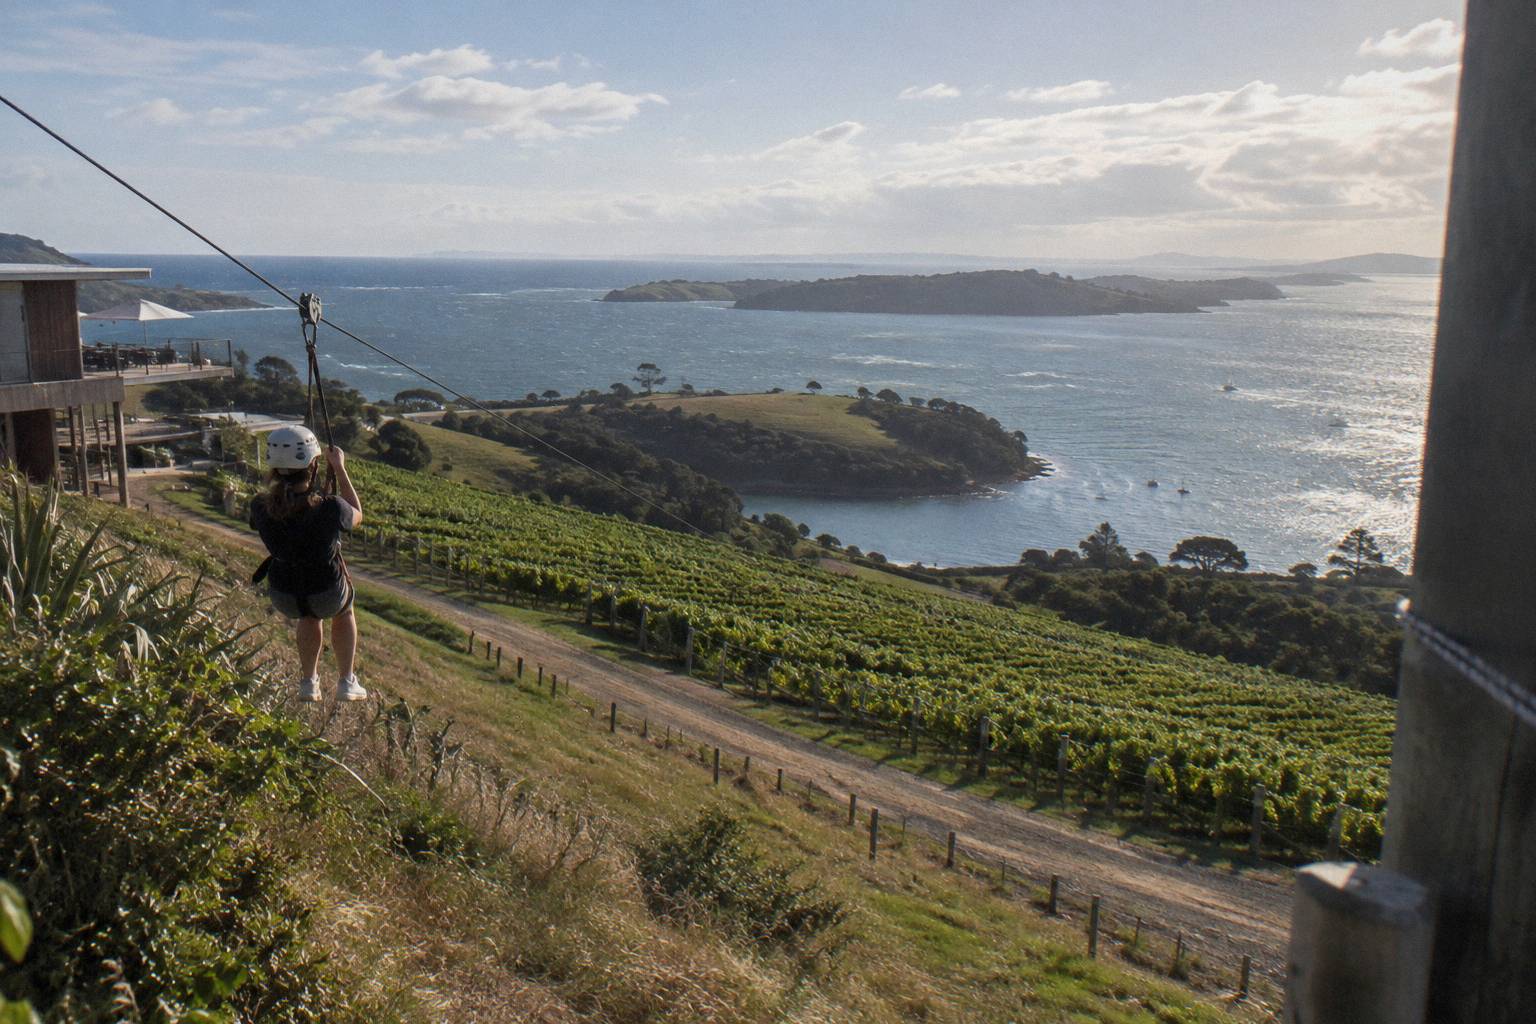
Set up while you are waiting at Matiatia or on the shuttle's 20-minute commentated ride to Trig Hill. Tap and hold on the exposure point to lock it against the sky, because half your frame will be bright cloud and half will be green valley, and no phone balances that well at speed. Turn off live filters. Shoot horizontal video even for social, because cropping a horizontal 4K frame to vertical later looks far better than upscaling vertical footage.
| Situation | Shutter | Frame rate | Notes |
|---|---|---|---|
| Zipline flight, phone | Fastest available | 4K 60fps | Lock exposure on sky, wide lens, stabilisation on |
| Zipline flight, action cam | Fastest available | 60 or 120fps | Chest mount, hypersmooth-style stabilisation on |
| Launch platform, portraits | Auto | Any | Burst mode; gloves off, bungee clipped |
| Forest walk | Auto, macro for ferns | 30fps | Plenty of time, shoot stills |
| Ferry deck crossing | Fast, for spray and wind | 30fps | Wind and glare; steady both elbows on the rail |
Stabilisation is your friend on the flight and your enemy on the platform. Electronic stabilisation crops the frame, so on the ground, turn it off for group shots to keep the full width of the view behind you. On the line, leave it on; the difference between stabilised and unstabilised zipline footage is the difference between a smooth glide and a shudder every time the trolley crosses a cable joint.
Battery is the quiet killer. A phone shooting 4K in a case, in wind, drains fast, and the EcoZip experience runs about 3 hours from Matiatia pick-up to drop-off, closer to a full day once you add the ferry each way. Start the day at 100 percent, carry a charged power bank in a zipped daypack, and put the phone in flight mode so it stops hunting for signal across the water. That single habit often doubles your shooting time.
Before the flight there is one setting that beats all the others: arriving on time. Catching the ferry to Matiatia for a morning slot gives you calm light, empty platforms and a relaxed check-in where you can actually fiddle with mounts; the crossing takes about 40 minutes from Downtown, and the operator's own ferry pages carry current fares and seasonal timetables.
What Shots Should You Actually Plan On The Day?
Plan around five anchor shots: the ferry bow approaching Waiheke, the harness and platform close-ups before the first flight, one full zipline run filmed from the ground by a group member, your own first-person line, and the forest walk canopy detail. Five planned shots beat fifty random ones, because you will shoot all five deliberately and end up with a sequence rather than a pile of clips.
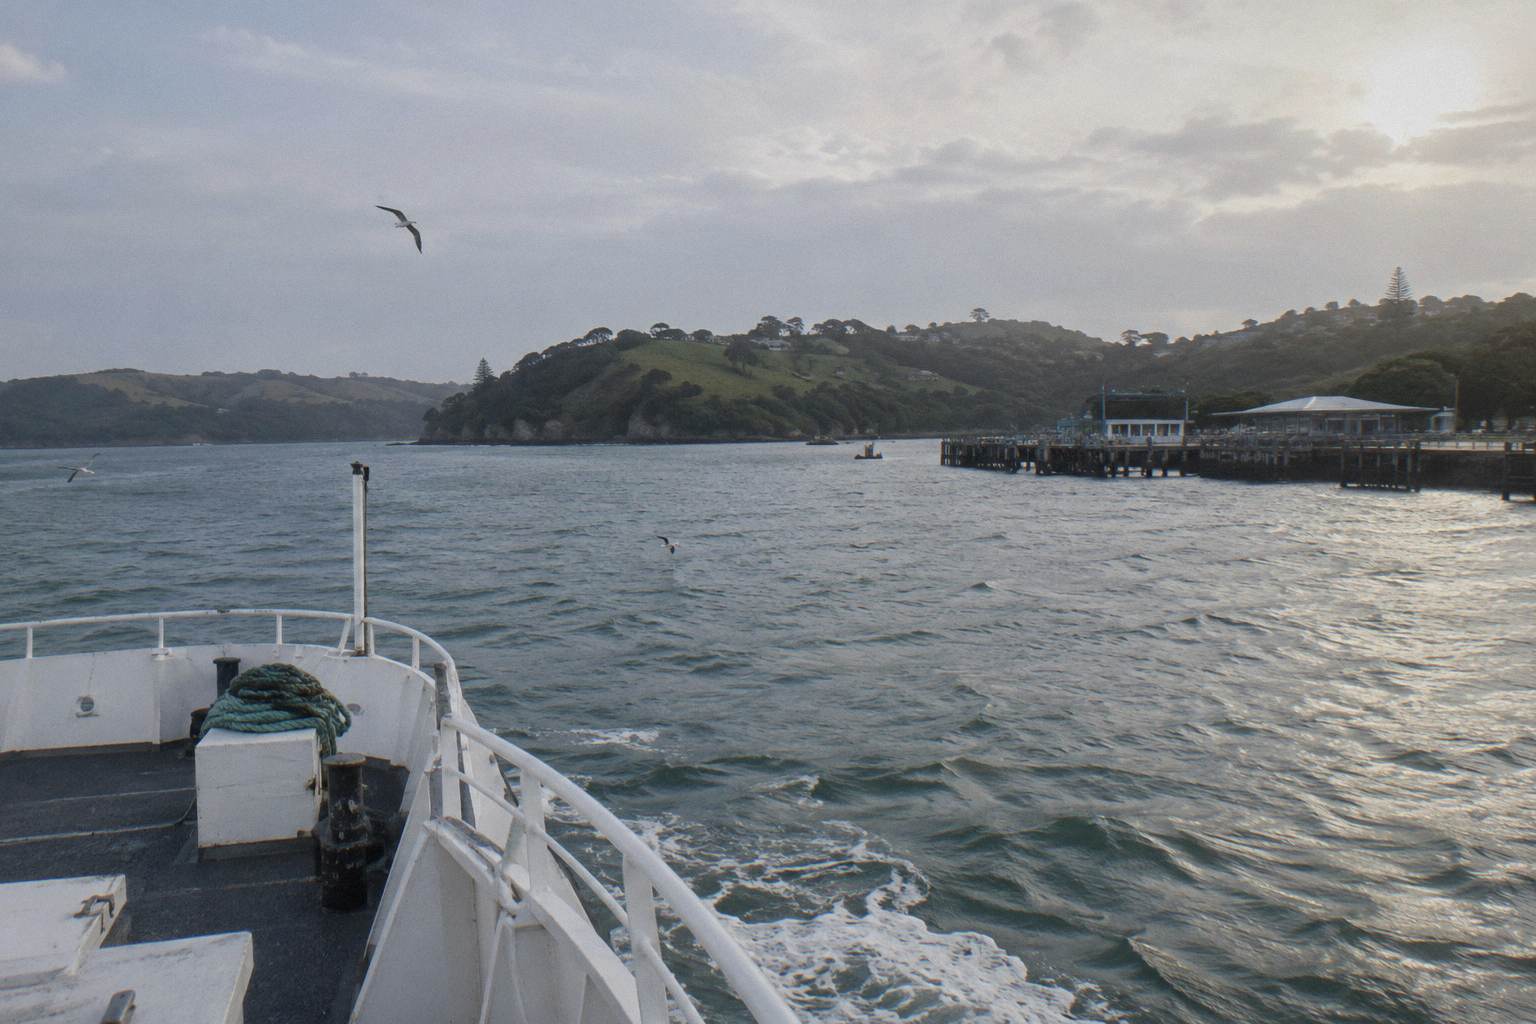
The ferry is your establishing shot and the easiest one on the list. Stand at the bow, lock exposure on the water, and start rolling a minute before the island's headlands resolve. The crossing runs about 40 to 45 minutes direct, which is generous rehearsal time for a phone you have not used for video before. Matiatia wharf arriving, the shuttle loading, and the road climbing through vineyards are three more establishing shots that cost nothing but attention on the ride to Trig Hill. The wider set of guides lives on Waiheke Zipline Tours.
On the platform, film your companions rather than yourself. The sequence every good zipline video has is: person clips in, guide checks, person launches, person screams or laughs, person arrives at the far platform. You cannot film yourself doing all of that, but you can film the friend who goes before you, and they can film you on the next line. With three lines and up to eleven companions, there are usually two or three people on any flight, which means the launch-arrival pair can be shot from both ends by different people.
The mid-air ground shot is the money clip and it takes coordination. Ask one person in your group to stand at the arrival platform, frame wide, and roll for the whole flight rather than trying to track you. A locked-off wide shot of a tiny figure crossing a vineyard valley looks cinematic precisely because the camera does not move. Swap roles on the second and third lines so everybody gets their crossing filmed.
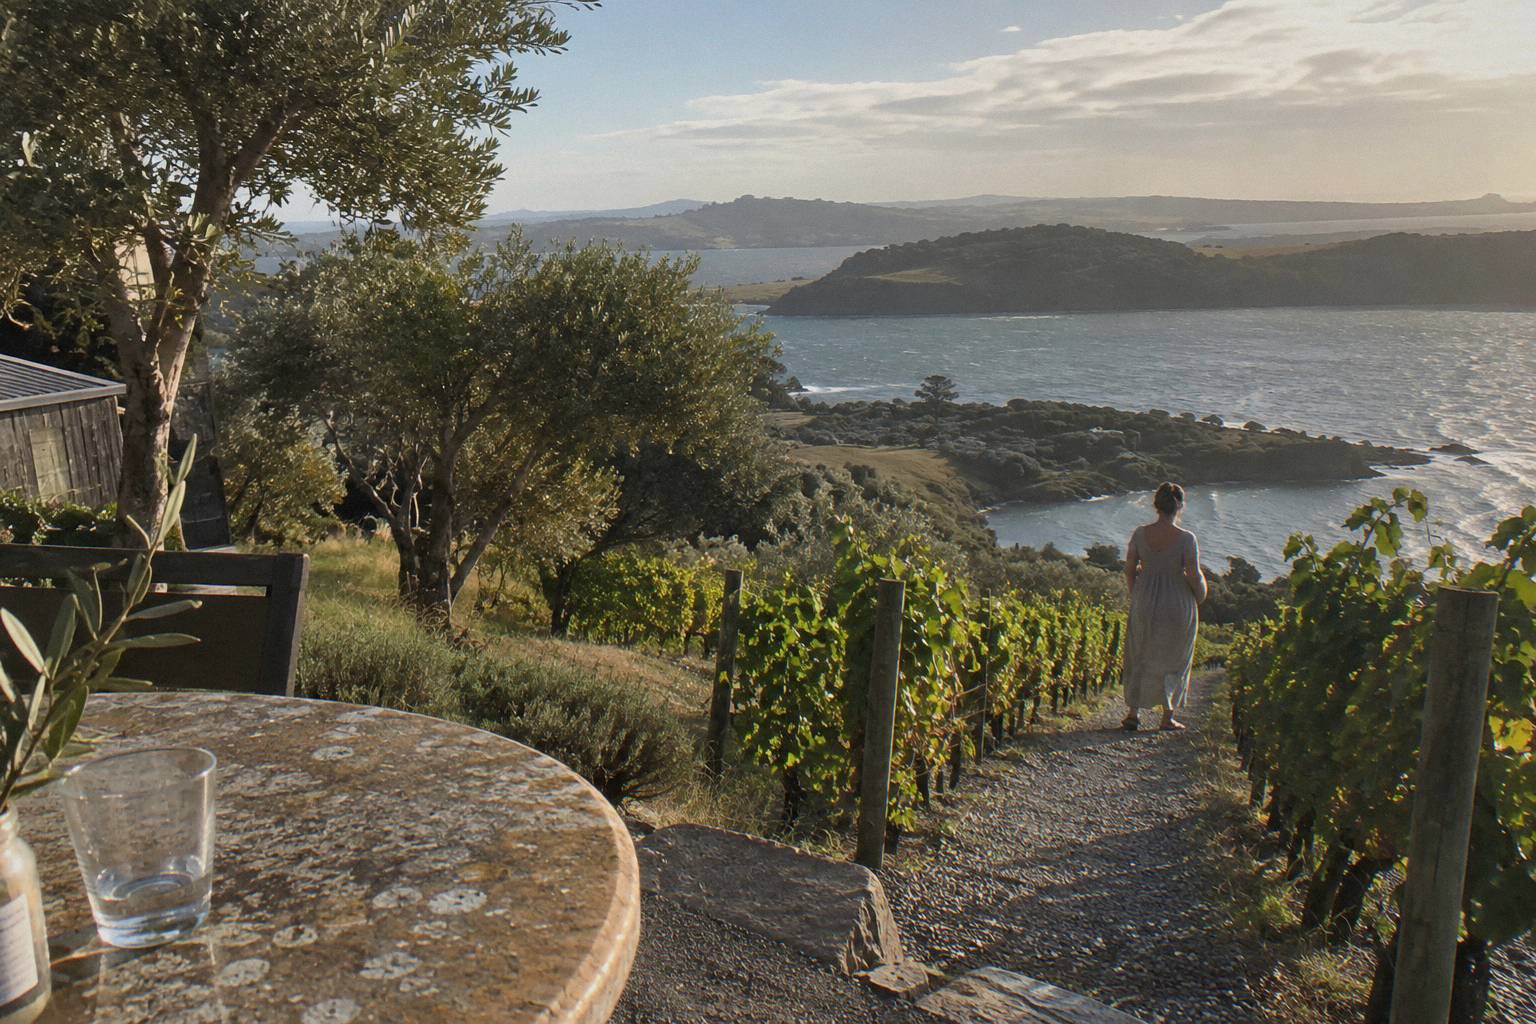
The forest walk is where your video breathes. After three adrenaline spikes, a minute of close ferns, filtered light and the guide's conservation commentary gives the edit a rhythm, and the walk is guided but unhurried. The commentary is optional, the walk is not, so if you want the guide's kauri-forest facts on your soundtrack, walk near the front. Finish the day's shot list wherever the free drop-off takes you: EcoZip shuttles guests onward to vineyards and restaurants including Stonyridge, Te Motu and Wild Estate, and a closing glass against a vineyard row is the natural final frame.
Here is the whole arc compressed into a shot list you can keep on your phone and tick off as the day runs:
| Stage of the day | Shot | Who films it | Why it earns its place |
|---|---|---|---|
| Ferry crossing | Bow shot as the island resolves | You | Establishing frame, 40 minutes of rehearsal time |
| Shuttle to Trig Hill | Vineyard rows from the window | You | Free b-roll on the 20-minute ride |
| Check-in and harnessing | Close-up of clips, gloves, bungee | A group member | Human detail before the adrenaline |
| Each of the 3 lines | Wide, locked-off from the arrival platform | A different group member each time | The money clip: full crossing, steady frame |
| Each of the 3 lines | First-person from chest mount | You | Speed and perspective |
| Forest walk | Ferns, canopy, filtered light | You | The breather in the edit's rhythm |
| Vineyard drop-off | Closing glass against the rows | Anyone | The final frame |
How Do Weather And Wind Change Your Footage?
Wind changes zipline footage more than any camera setting: EcoZip runs in rain and cancels only when wind is consistently above 35 knots, so most breezy days still fly, but strong gusts add audio rumble, camera shake and spray off the cables. Bright overcast is the best filming light on the island; midsummer sun at midday creates the harshest contrast between sky and valley.
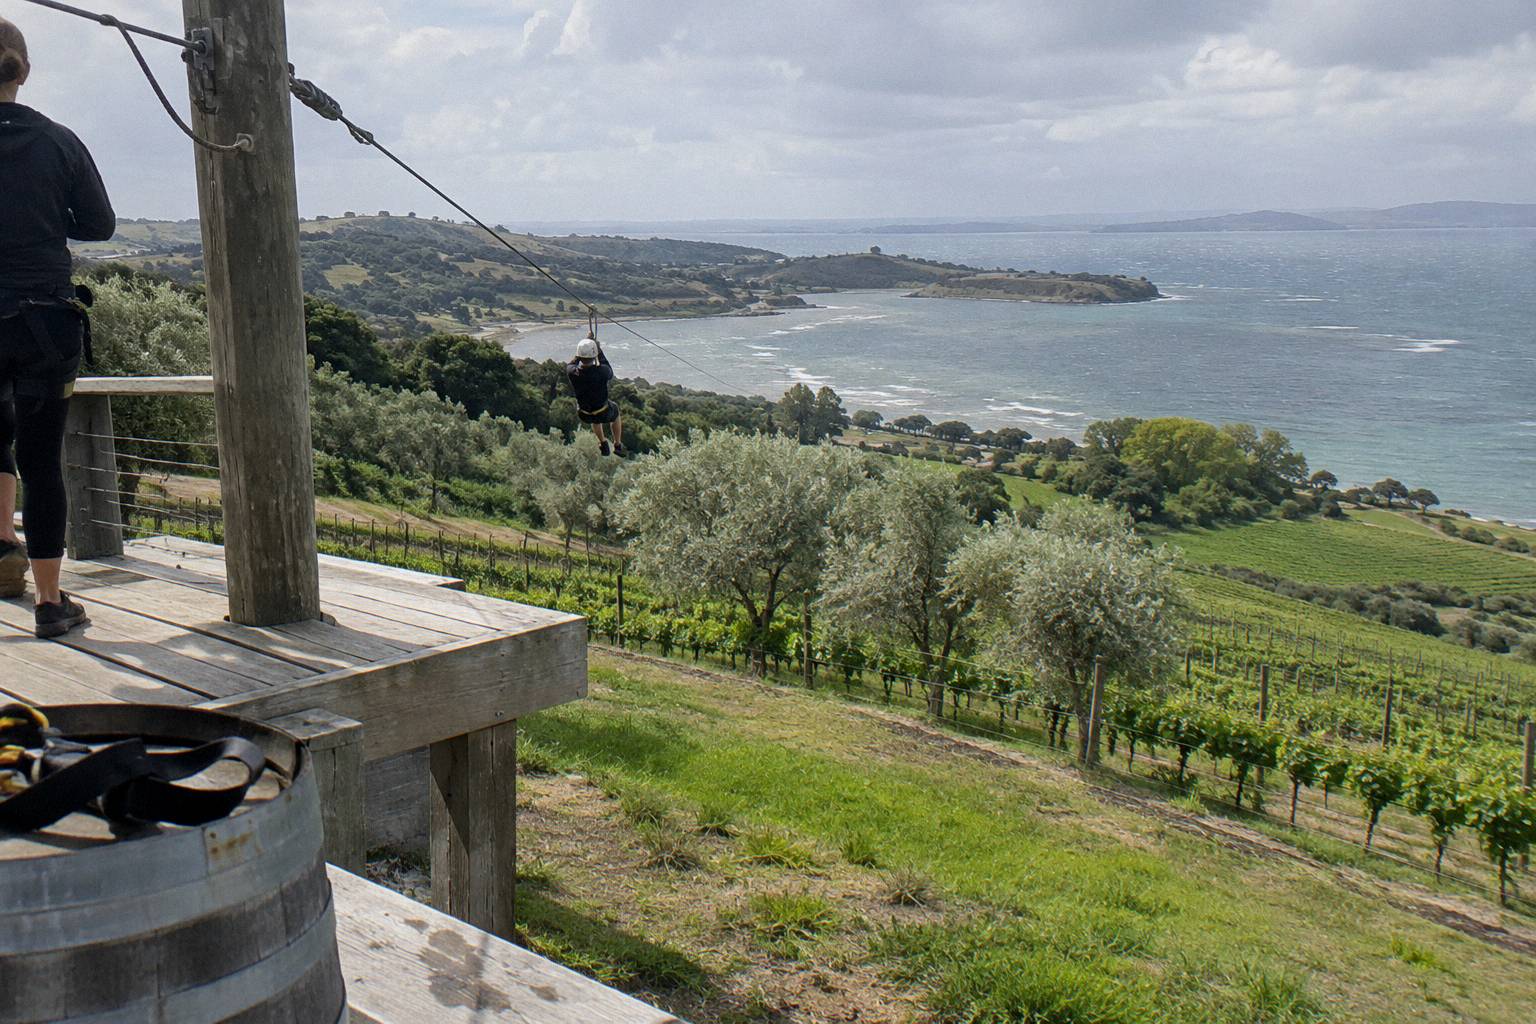
The 35-knot figure is the operator's stated cut-off, with a date or time change or a full refund if they cancel. Below that, wind is a creative variable. A steady westerly breeze will rattle your audio into white noise, so plan to use the wind rumble under music rather than fighting it with speech. On the cables themselves the wind is mostly behind or across you, which matters less for safety, the operator judges that, and more for how steady your mounted camera reads.
Rain is likelier than visitors expect in any season: annual rainfall on the island runs around 1156 mm, with July the wettest month at about 123 mm and January the driest at about 71 mm. Rain on a zipline actually films beautifully, beads on the cable, darkened greens, moody sky, provided your phone or action cam is weather-sealed or in a case. The forest walk turns muddy after rain, which the operator warns about, so a lens cloth in a zipped pocket earns its space twice over: once for spray and once for mud.
| Condition | Flights run? | Effect on footage | Fix |
|---|---|---|---|
| Calm and bright | Yes | Harsh midday contrast | Shoot morning slot, lock exposure on sky |
| Light rain | Yes | Beaded cable, saturated greens, dull light | Weather-sealed case, raise exposure slightly |
| Steady moderate wind | Yes | Audio rumble, mounted-cam shake | Music over ambient, stabilisation on |
| Wind consistently over 35 knots | No, cancelled | No footage | Operator offers reschedule or full refund |
| Bright overcast | Yes | Softest, most even light | Best all-round filming day |
Light angle matters when you book. Shoulder seasons from September to November and March to May bring fewer crowds and gentler sun, and a morning slot puts the sun behind you on the west-facing lines rather than straight down the lens. If footage is a priority rather than an afterthought, choose the slot before you choose the settings.
What Should You Do With The Footage Afterwards?
Back everything up the same evening, because the ferry, the wind spray and the vineyard afternoon claim more phones than any zipline does, then cut your edit to under a minute: three to five second clips, the ferry opening, one launch, two crossings, a forest-walk breather and a vineyard close. Raw zipline runs are long and repetitive; a tight sequence is what people actually watch.
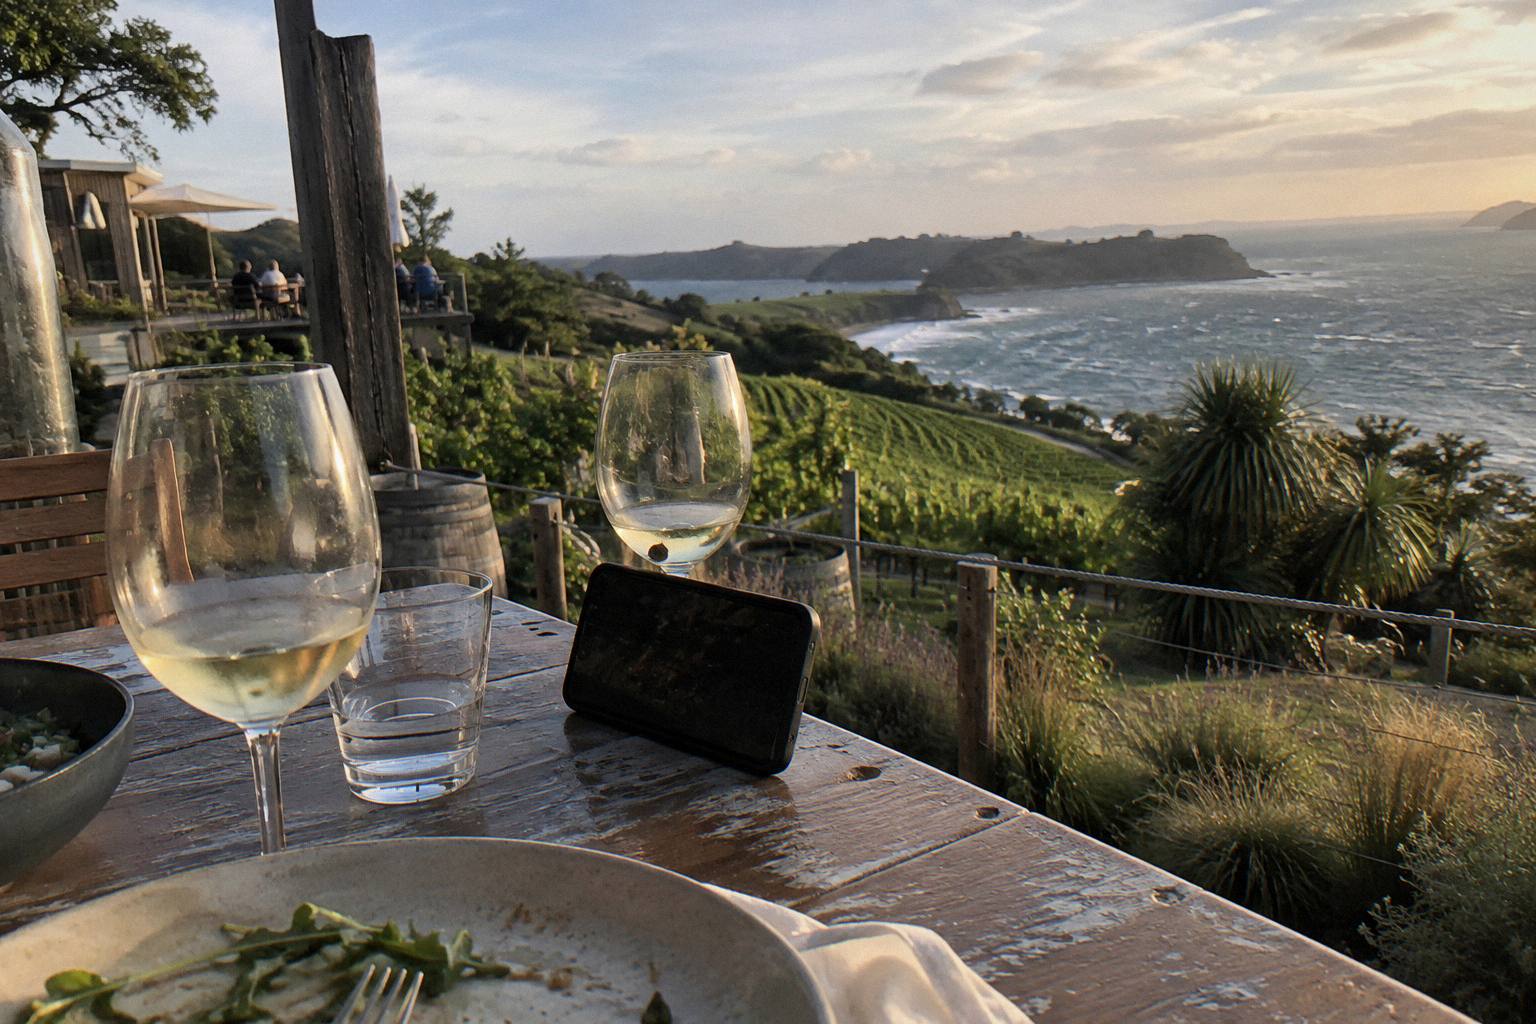
Back up before the wine, not after. Ferry wifi and island signal are unreliable, so the safest copy is offline: transfer to a laptop at the accommodation, or at minimum confirm your phone's cloud backup ran on the hotel network. If you shot on two devices, a phone and an action cam, offload both while the timestamps still line up, because syncing three lines of footage across two clocks is fiddlier than it sounds after a long day.
Edit with the sound off first. Lay the clips in order, cut to the good three to five seconds of each, and only then add music and keep a single moment of real audio, the launch laugh or the guide's call, underneath. Vertical crops from horizontal 4K hold up well on any platform, and one honest rule of thumb: if a clip does not make you want to watch it again, no filter will save it.
Sharing has one courtesy clause. Your group of up to twelve shares platforms, harnesses and three flights; several of them will appear in your footage whether you noticed or not. Before posting someone's mid-flight face to a public feed, ask. The group chat will sort the rest, and trading full-resolution copies with the person who filmed your best crossing is the cheapest photography deal on the island.
For everything that supports the camera work, the gear rules, the strapping requirement and the phone bungees all come from the operator's own information pages, and EcoZip's safety page covers the braking and inspection regime behind the flights you are filming, which is worth reading before you strap a camera near a cable.
If your filming day is really a whole-island shoot, other formats slot neatly around a zipline booking: the EBike Experience, 4.5 Hours option on the premium eRide eBike experience covers coastal road b-roll, and the zipline and forest walk tour anchor sits at the centre of a full Waiheke day trip.
Does The Other Waiheke Zipline Film Differently?
Yes, materially: the Man O' War Forest Flight runs three tandem ziplines totalling over 900 m connected by a 660 m elevated boardwalk through kauri forest, and it ends steps from a beachfront tasting room, so the footage skews canopy, boardwalk and beach rather than vineyard valley. Same island, different film. The experience starts with a scenic drive to a 210 m viewpoint, which hands you a drone-style opening shot without the drone, and the tandem format means your co-rider can be framed on the line beside you, a shot the side-by-side dual cables at EcoZip deliver differently, two riders racing rather than paired.
The boardwalk is the quiet star for video. Six hundred and sixty metres of elevated walkway through kauri forest gives steady, gliding tracking shots you simply cannot get on an uneven forest floor, and the two-hour total duration leaves a softer pace than the flagship three-hour EcoZip loop. The finish at the beachfront tasting room supplies a closing frame, water, sand, glass, that most zipline courses anywhere would envy. Which course films better depends on what your edit needs: valley scale and speed at Trig Hill, canopy texture and a beach ending out east. The honest answer for most first-time visitors is that either one produces a better video than the same day shot from a hop-on hop-off bus window.
If your real goal is one long video that covers the whole day, flights plus vineyards plus lunch, the combination products are built for exactly that arc, and the nine-hour zipline, wine tasting and vineyard lunch day tour strings zipline, two cellar doors and a two-course lunch into a single storyline.
Whether even a day of that scale is worth the camera bag is a fair question, and what visitors actually report about the Waiheke zipline is the place to check how the real experiences read against the marketing clips.
Common Questions About Photos On The Waiheke Zipline
Can I Take My Phone On The Waiheke Zipline?
Yes. Phones are allowed on the flights provided they are strapped to your clothing or the harness, and EcoZip gives out free phone bungees at check-in. Between flights, on the forest walk and around the site, ordinary pocket carry is fine.
Is A GoPro Allowed On The Waiheke Zipline?
Secured action cameras are consistent with the operator's rule that phones and cameras must be strapped to clothing or the harness. No GoPro-specific policy is published, so bring your own mount and confirm at check-in.
Does The Waiheke Zipline Include Photos Or Video?
Nothing published by the operator promises an included photo or video package. Plan to shoot your own footage, and ask the guides on the day whether they can help, but do not build the day around it.
What Are The Camera Rules On The Waiheke Zipline?
Anything carried during a flight must be strapped to clothing or the harness; free phone bungees are provided at check-in. Loose devices, handheld grips and selfie sticks are not usable during the flights themselves.
What Camera Settings Work Best For Zipline Video?
The fastest shutter speed your phone offers, 4K at 60fps where available, exposure locked on the sky before launch, and stabilisation on for the flights and off for platform group shots.
Can I Fly A Drone Over The Waiheke Zipline?
No. A commercial zipline course has guests, guides and cables moving underneath it, and New Zealand drone rules around flying near people are strict. Shoot your aerial-style footage from the ferry deck instead.
The short version: one phone, one bungee, one cooperative group member at the far platform, and a five-shot plan. Everything else on this page is refinement. Lock the exposure, mind the wind, back it up before the first glass, and the Waiheke zipline will hand you the scenery; your job is only to hold the camera steady while it does.